Tuesday, February 9, 2016

Basics Of Raspberry Pi


Raspberry Pi 


System on Chip (SoC)
• What is System on Chip?
– A complex IC that integrates the major functional elements
into a single chip or chipset.
• programmable processor
• on-chip memory
• accelerating function hardware (e.g. GPU)
• both hardware and software
• analog components

 Benefits of SoC
– Reduce overall system cost
– Increase performance
– Lower power consumption
– Reduce size

SoC in Raspberry Pi: Broadcom
BCM2835 SoC Multimedia processor

CPU
– ARM 1176JZF-S (armv6k) 700MHz
– RISC Architecture and low power draw
– Not compatible with traditional PC software

GPU
– Broadcom Video IV
– Specialized graphical instruction sets

RAM
– 512MB (Model B rev.2)
– 256 MB (Model A, Model B rev.1)

Connecting a Display and Audio
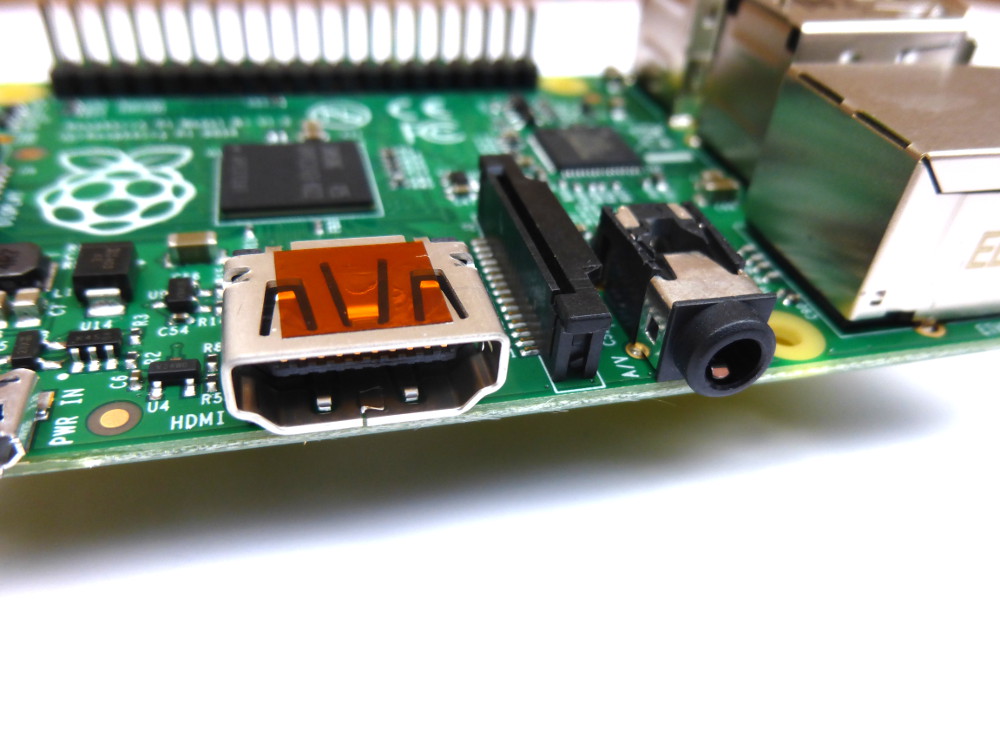
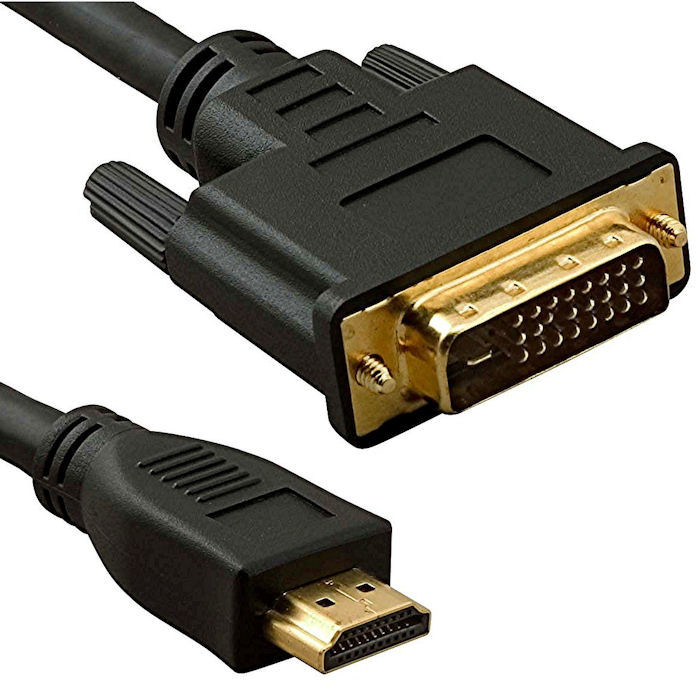
HDMI
– Digital signal
– Video and audio signal
– DVI cannot carry audio signal
– Up to 1920x1200 resolution


Composite RCA
– Analog signal
– 480i, 576i resolution
• 3.5mm jack

Universal Serial Bus

• Two USB 2.0 ports in RPi
• Buy a powered USB hub
Passive models are cheaper and smaller, but lack the ability to run currenthungry
devices like CD drives and external hard drives


Storage: Secure Digital (SD)
• Form factor
– SD, Mini SD, Micro SD
• Types of Card
– SDSC (SD): 1MB to 2GB
– SDHC: 4GB to 32 GB
– SDXD up to 2TB
The card should be at least 2GB in
capacity to store all the required files
Networking
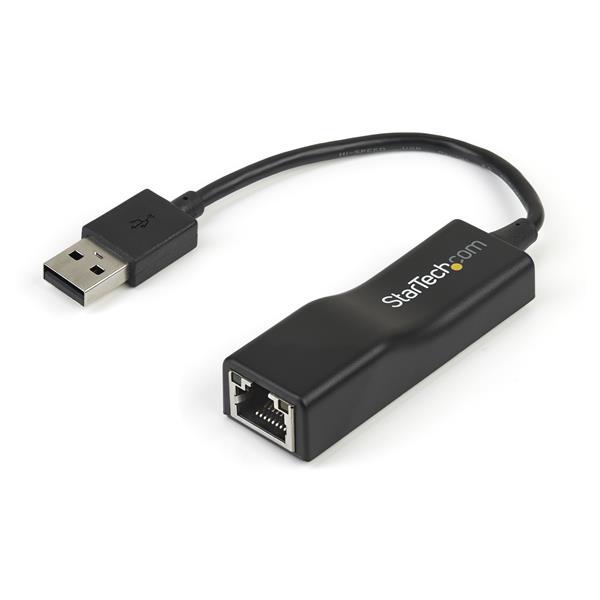
USB Ethernet Converter

IEEE 802.11 Wi-Fi
– Protocols
• 802.11 b, up to 11Mbps
• 802.11 g, up to 54Mbps
• 802.11 n, up to 300Mbps
• 802.11 ac (draft), up to
1Gbps
– Frequency band
• 2.4GHz, 5GHz

Low Speed Peripherals

• General Purpose
Input/Output (GPIO)
– Pins can be configured to
be input/output
– Reading from various
environmental sensors

• Ex: IR, video,
temperature, 3-axis
orientation, acceleration
– Writing output to dc
motors, LEDs for status

Power Consumption

• microUSB power connector
– 2.5W (model A)
– 3.5W (model B)

• Powered USB hub
– To provide more power for USB peripherals


Friday, February 5, 2016

Raspberry Pi- Installation Guide


           The Raspberry Pi is a series of credit card–sized single-board computers developed in WalesUnited Kingdom by the Raspberry Pi Foundation with the intention of promoting the teaching of basic computer science in schools and developing countries. The original Raspberry Pi and Raspberry Pi 2 are manufactured in several board configurations through licensed manufacturing agreements with Newark element14 (Premier Farnell), RS Components and Egoman. The hardware is the same across all manufacturers.
All Raspberry Pis include the same VideoCore IV GPU, and either a single-core ARMv6-compatible CPU or a newer ARMv7-compatible quad-core one (in Pi 2); and 1 GB of RAM (in Pi 2), 512 MB (in Pi 1 models B and B+), or 256 MB (in models A and A+, and in the older model B). They have a Secure Digital(SDHC) slot (models A and B) or a MicroSDHC one (models A+, B+, and Pi 2) for boot media and persistent storage. In 2014, the Raspberry Pi Foundation launched the Compute Module, for use as a part of embedded systems for the same compute power as the original Pi.In early February 2015, the next-generation Raspberry Pi, Raspberry Pi 2, was released. That new computer board is initially available only in one configuration (model B) and has a quad-core ARM Cortex-A7 CPU and 1 GB of RAM with remaining specifications being similar to those of the previous generation model B+. The Raspberry Pi 2 retains the same US$35 price point of the model B, with the US$20 model A+ remaining on sale. In November 2015, the Foundation launched the Raspberry Pi Zero, a smaller product priced at US$5.
The Foundation provides Debian and Arch Linux ARM distributions for download,and promotes Python as the main programming language, with support for BBC BASIC (via the RISC OS image or the Brandy Basic clone for Linux), CC++JavaPerlRuby,Squeak Smalltalk and more also available.

As of 8 June 2015, about five to six million Raspberry Pis have been sold.While already the fastest selling British personal computer, it has also shipped the second largest number of units behind the Amstrad PCW, the "Personal Computer Word-processor", which sold eight million.


Raspberry Pi Setup

1.Download the Raspberry Pi operating system
– Linux releases compatible with the Pi:
http://www.raspberrypi.org/downloads
– The recommended OS is Raspbian:
http://downloads.raspberrypi.org/raspbian_latest

2. Unzip the file that you just downloaded
– Right click on the file and choose “Extract all”.
– Follow the instructions you will end up with a file ending in .img


3.Download the Win32DiskImager software
– a) Download win32diskimager-binary.zip (currently version 0.9.5) from:
http://sourceforge.net/projects/win32diskimager/files/latest/download
– b) Unzip it in the same way you did the Raspbian.zip file
– c) You now have a new folder called

win32diskimager-binary

4. Writing Raspbian to the SD card
– a) Plug your SD card into your PC
– b) In the folder you made in step 3(b), run the file named Win32DiskImager.exe
– c) If the SD card (Device) you are using isn’t found automatically then click on the drop down box and
select it
– d) In the Image File box, choose the Raspbian.img file that you downloaded
– e) Click Write
– f) After a few minutes you will have an SD card that

you can use in your Raspberry Pi

5. Booting your Raspberry Pi for the first time
– On first boot you will come to the Raspi-config window
– Change settings such as timezone and locale if you want
– Finally, select the second choice: expand_rootfs and say ‘yes’ to a reboot
– The Raspberry Pi will reboot and you will see raspberrypi login:
• Username: pi, password: raspberry
– Start the desktop by typing: startx
– The desktop environment is known as the Lightweight X11 Desktop Environment (LXDE)